It's the depths of winter, and many of us in northern states are longing of spring and gardens. Whether to reduce food miles, enjoy a beautiful pollinator or rain garden, or just enjoying delicious varieties and beautiful flowers, thoughts often turn to seed catalogs before eventual panic about growing all the seeds you bought on impulse. What if you could start seeds in a way that requires no electricity, uses upcycled containers, needs less water, and where seeds mostly take care of themselves until they’re ready to plant in your garden?
Welcome to Winter Sowing! It’s incredibly simple and incredibly sustainable, and results in strong hardy seedlings. And other than some brief sharp object use, the process is very family friendly. It might sound too good to be true - but give it a try. You may be very pleasantly surprised.
The Concept:
Winter Sowing was developed by Trudi Greissle Davidoff, who has a much more detailed informational page at WinterSown.org. There is also a very supportive Facebook community. I’m forever grateful for their kindness and Trudi's dedication to developing and sharing this great growing technique!
Winter sowing essentially creates mini greenhouses which protect seeds throughout the winter while exposing them to natural temperature variations. Sow in the winter, set containers outside, and watch seeds sprout with gusto in the spring. Plant them in your garden, in containers, and inevitably give extras to friends, family, and neighbors because you didn’t expect to have nearly so many seedlings - but in my experience, you’re likely to get compliments in the fall and sometimes years later about how well those gifted plants produced!
What To Plant:
Some seeds are more suited for winter sowing than others. Delicate, heat loving plants that usually grow in regions without freezing temperatures are possible, but difficult. Fortunately, that still leaves many, many options on the list!
Anything that grows native in your area? Winter sow.
Anything that is winter hardy, requires stratification, or is perennial in your area? Winter sow.
Vegetables and Herbs? A surprising amount of plants, vegetables, and herbs work wonderfully winter sown!
Check the list above or experiment with a small number of seeds on your own.
What you’ll need:
- Clear rigid plastic containers. Milk jugs are the most common, but I’ve also had success with juice containers, 2 liter pop or soda bottles, and even single serve plastic water bottles (unfortunately, easy to obtain in Michigan).You can also use plastic salad containers or take out containers with clear lids, but I’ve found shallow containers to be less forgiving. If it’s food safe, it will work. Just rinse it out well.
- Something to punch drainage holes (Adult Activity). I use a drill, but for thin plastic such as water bottles scissors will work. Be careful to not cut yourself. If your container doesn’t have an opening to let precipitation in like a milk jug top, you’ll need to cut vents as well.
- Something to cut a hinge for the lid (Adult Activity). Again, be careful. Tin snips are best, but a thin sharp blade such as a paring knife will work.
- Seed Starting potting mix. Look for something with a good balance of moisture drainage and retention - any potting mix should work. Most mixes use peat moss, which is unfortunately not a quickly renewable resource. However, if you already have bags of peat/pearlite/bark mix, the excess can be saved and reused a surprisingly long time.
- Light: Free (sun)
- Water Free (snow, rain) or Minimal. If you don’t see condensation on your containers, gently add water. You also may need to add more once spring arrives.
- Plant Tags, Tape, Waterproof Permanent Marker A common mistake is forgetting what is planted. Inserting a plant tag into the container along an edge before filling with soil as well as writing the name on a tape label helps ensure at least one label will remain legible come spring.
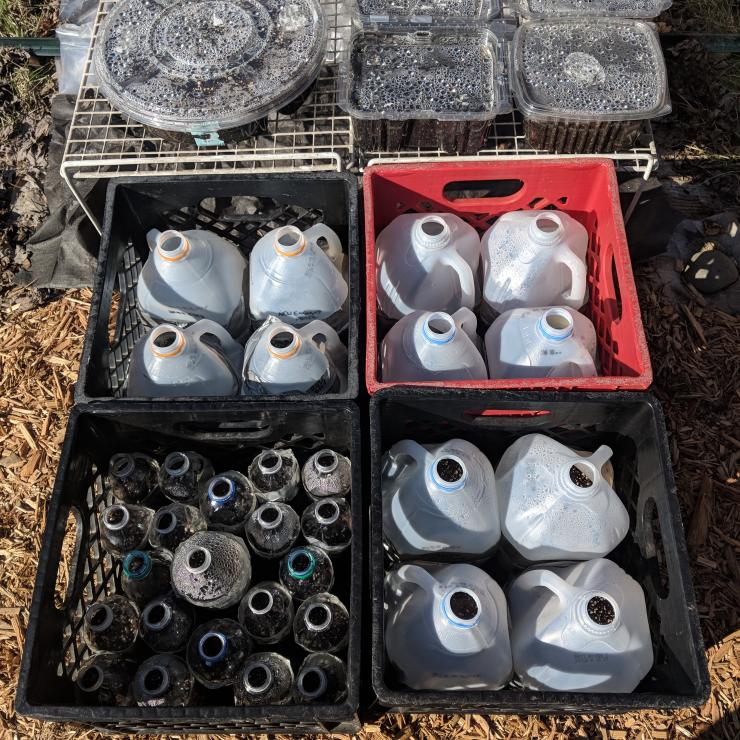
- Optional, but Helpful: Larger containers to hold your smaller winter sow containers, both for ease of moving and to avoid harsh winter winds or curious animals knocking down containers. Make sure they have drainage as well. Milk crates fit 4 milk jugs perfectly, and some plant seedling pot trays fit smaller containers like water bottles and hold them upright. A patio table with a ring of bricks, fencing, or simply tying containers together works as well. Use what you have handy (Rethink Disposable)!
When To Plant:
Right now is a great time! Traditionally many plant in December around the solstice, but as long as the nights aren’t too warm you can winter sow successfully. Our Ann Arbor, MI office has winter sowed native rain garden seeds as late as mid March.
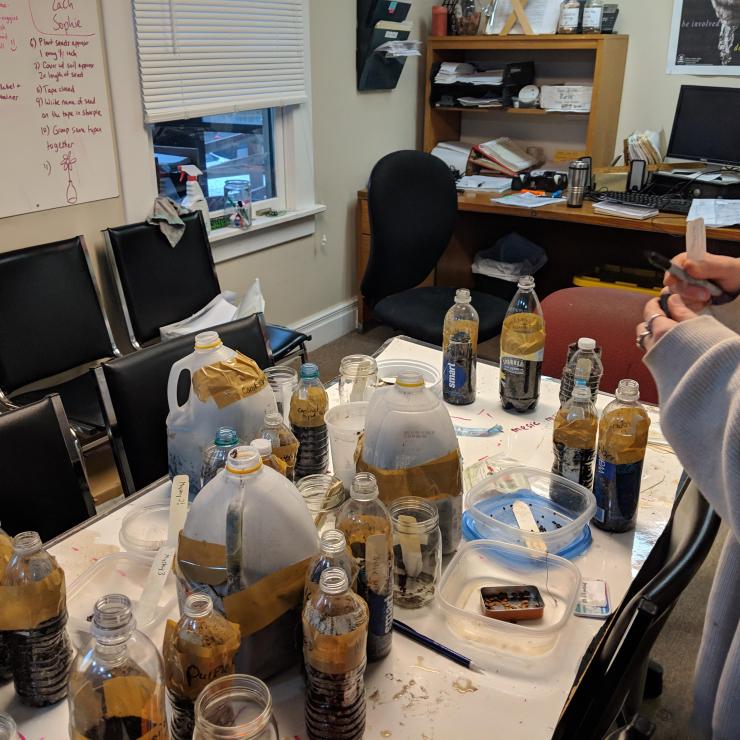
How To Plant:
Wet your growing mix and mix well. Not too damp, not too dry. Tap the soil down firmly and evenly, and then plant seeds according to recommended spacing, Cover with the recommended seed planting depth and tap down soil once again to avoid seeds shifting as you move your containers. Close up the containers (for hinged containers such as milk jugs, use duct or packing tape or be creative with things like snap together fasteners). Put the containers outside, gently add water if condensation isn’t visible, and other than that leave your containers to their own devices until the end of winter is in sight!
It worked! Now what?
Congratulations!
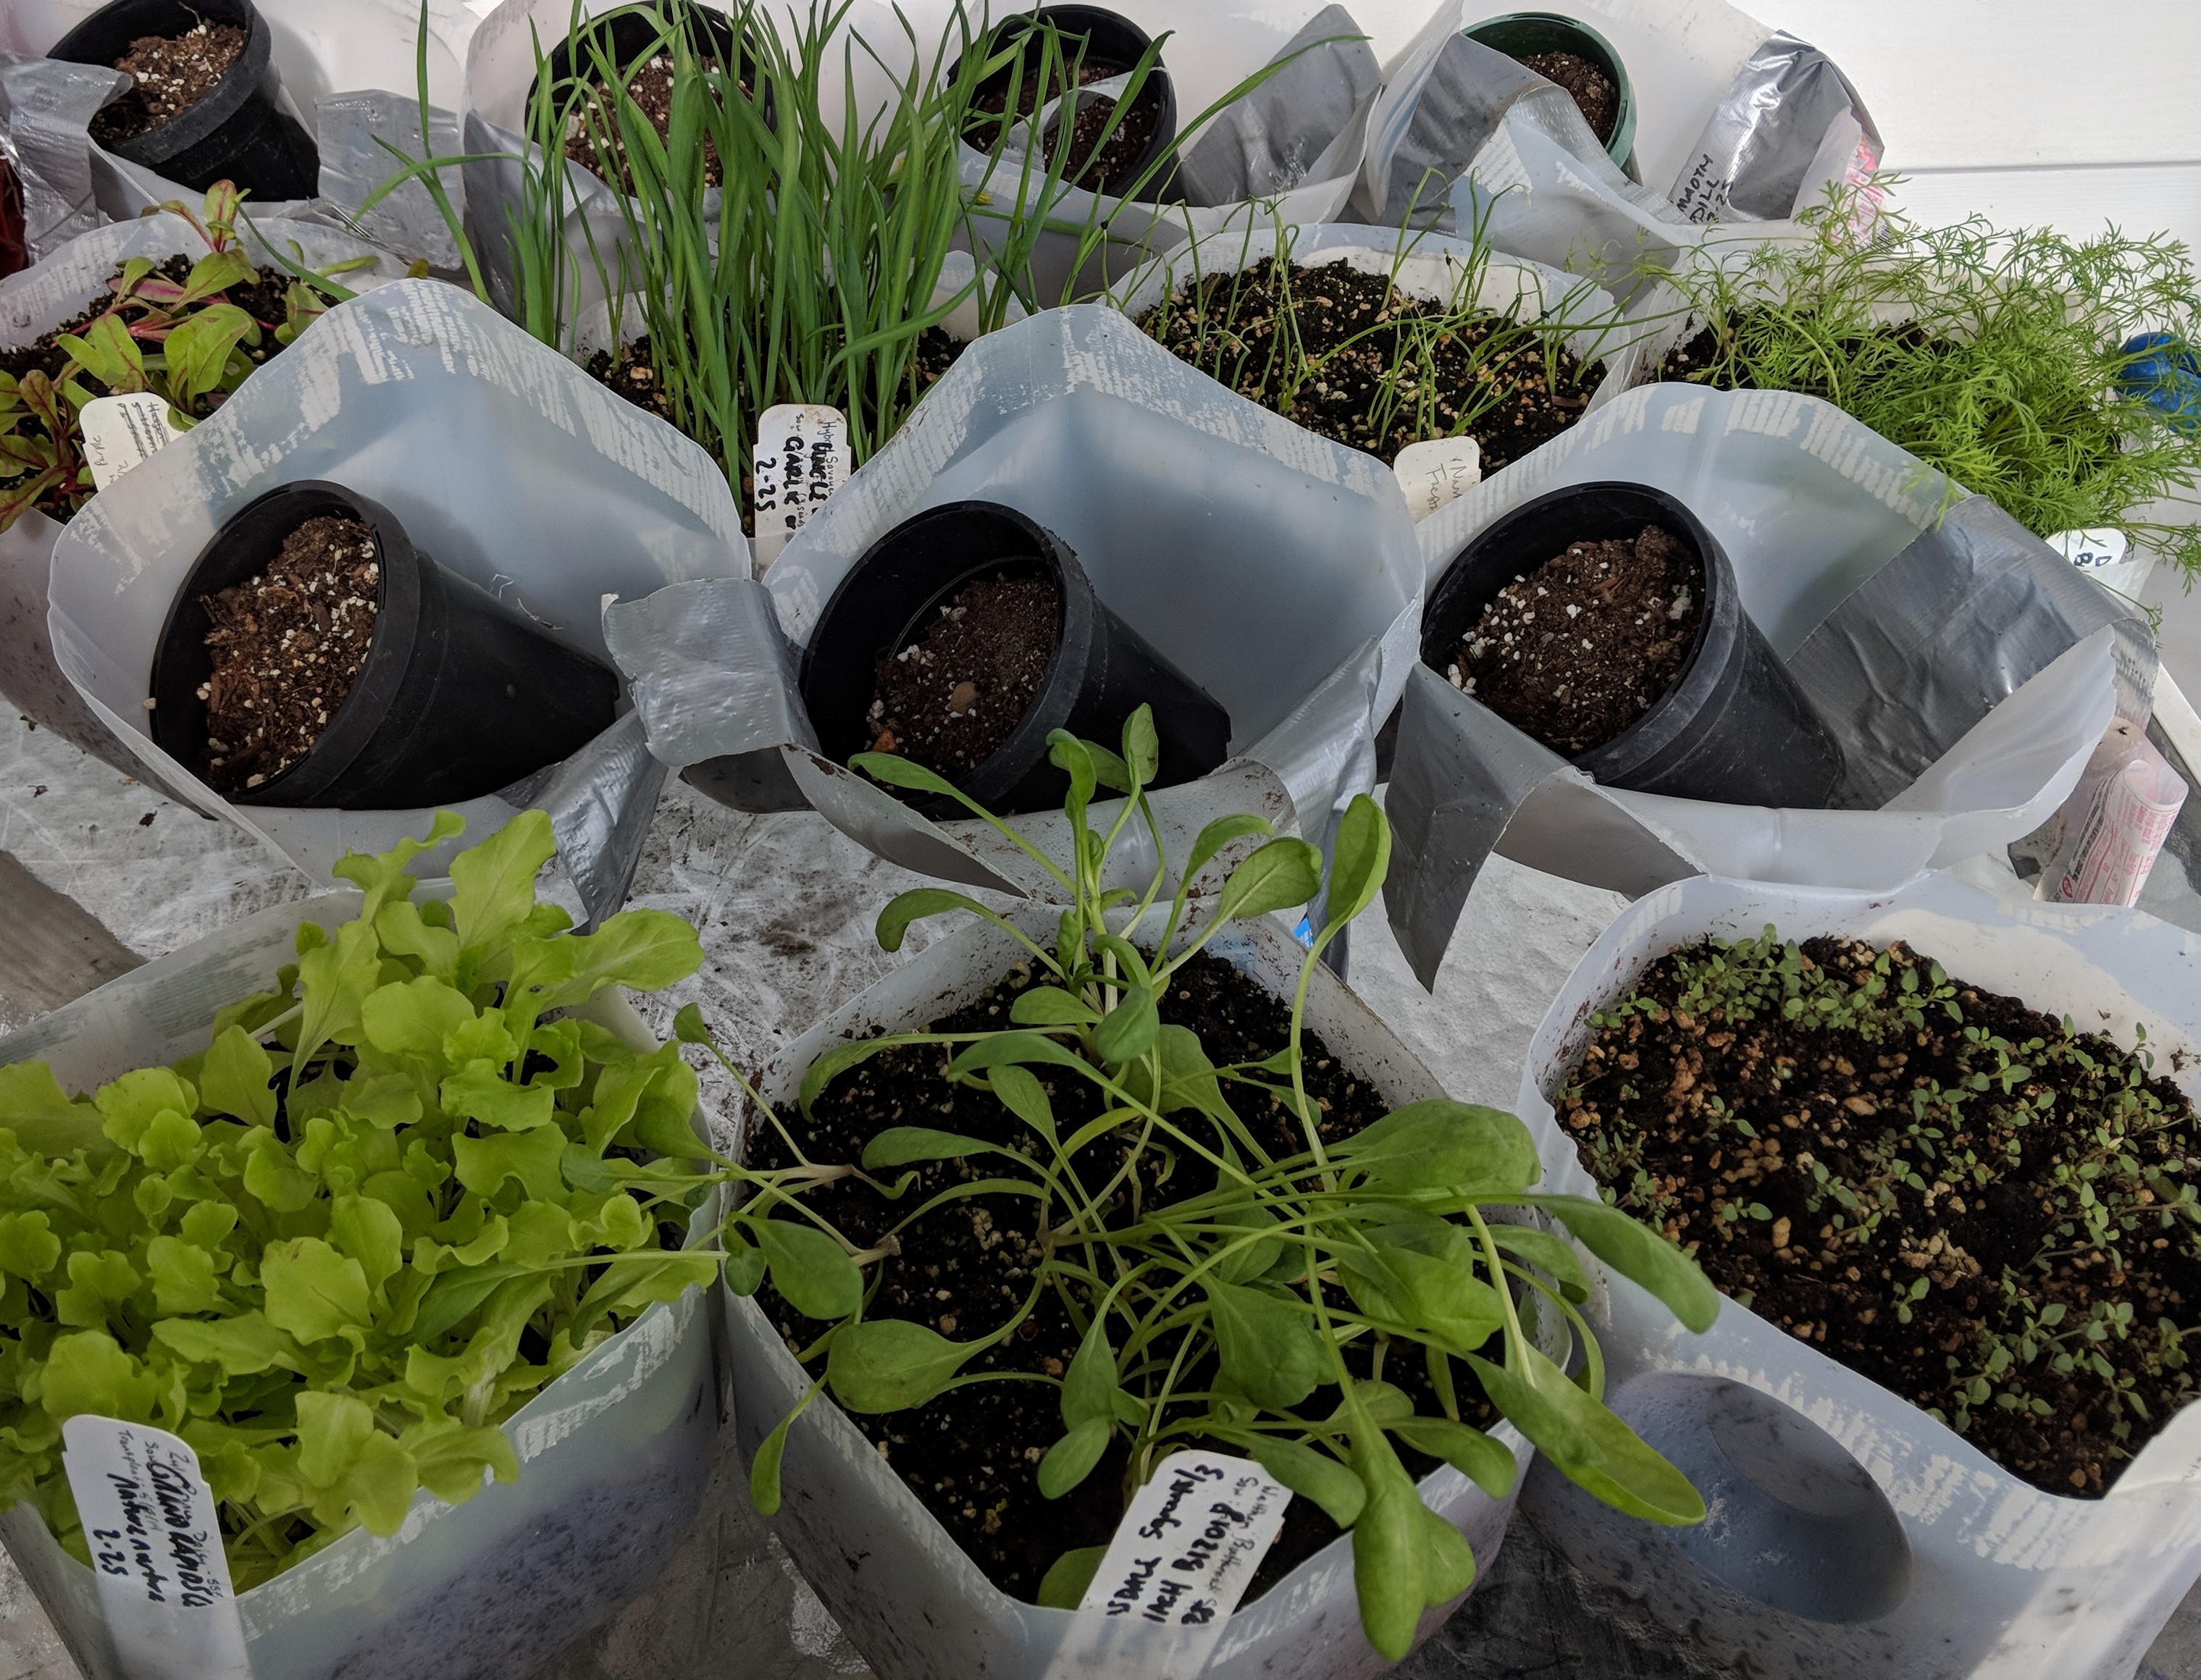
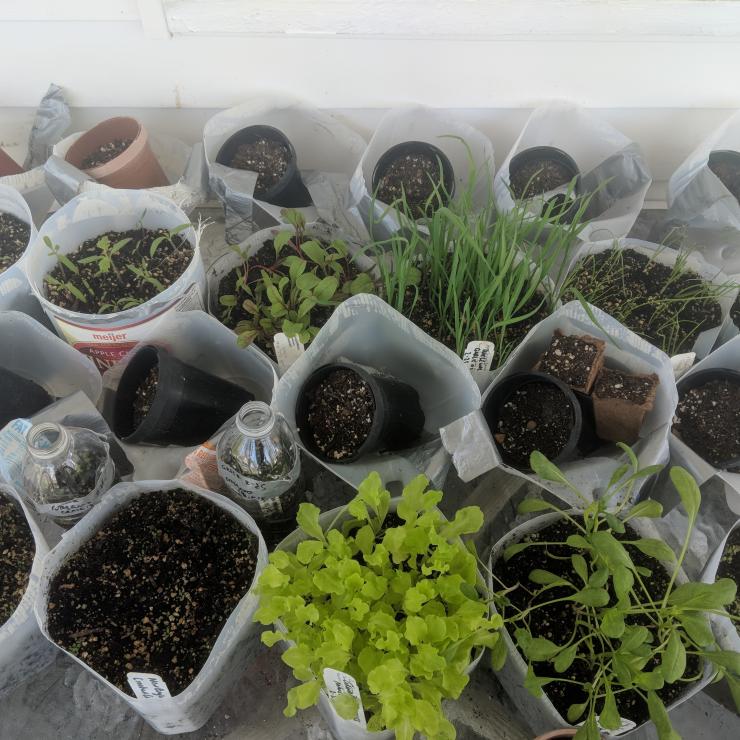
Once the temperature gets warm or the plants become too crowded in your upcycled mini greenhouses, you want to open them up so they don’t overheat. In the picture below plant pots with soil are used to keep the hinged lids open. Continue to water, from the bottom if possible (putting all the containers in a wheelbarrow is a quick way to water many at once), but not necessary. Leave the plants exposed in a semi sheltered area with some sun and wind for at least a few days to harden them off.
Now the tricky part: getting the plants out and into a larger pot or the ground. There are many methods including simply cutting the containers open. I like to reuse my containers as much as possible, and use a thin flexible spatula or butter knife and run it along all 4 sides of the container and then slowly side out the plants, roots, and soil in one block. Once the plants are out, plant directly into your garden or containers for seeds that are adequately spaced.. If it’s a bit too crowded or you’d like to plant in multiple locations, gently tease apart the soil block. The existing roots tend to decide which direction they want to go. Save your now empty containers for sowing next year, or rinse them for the recycle bin if you’re short on space.
And all that’s left is to enjoy your electricity-free, water-minimal, reused container garden.
Happy planting!